The best kind of product photography can accentuate a product’s value to more than what it’s worth, helping business owners increase their earning potential, and thus, making product photography a lucrative career opportunity.
But like any career that pays well, it comes with a learning curve, and understanding the tricks of the trade can help you find the clients you’re looking for.
While there are many things to master before you break into your dream clientele work, one thing you need to master early on is your ideal camera settings for product photography.
In this post, we’ll take you through:

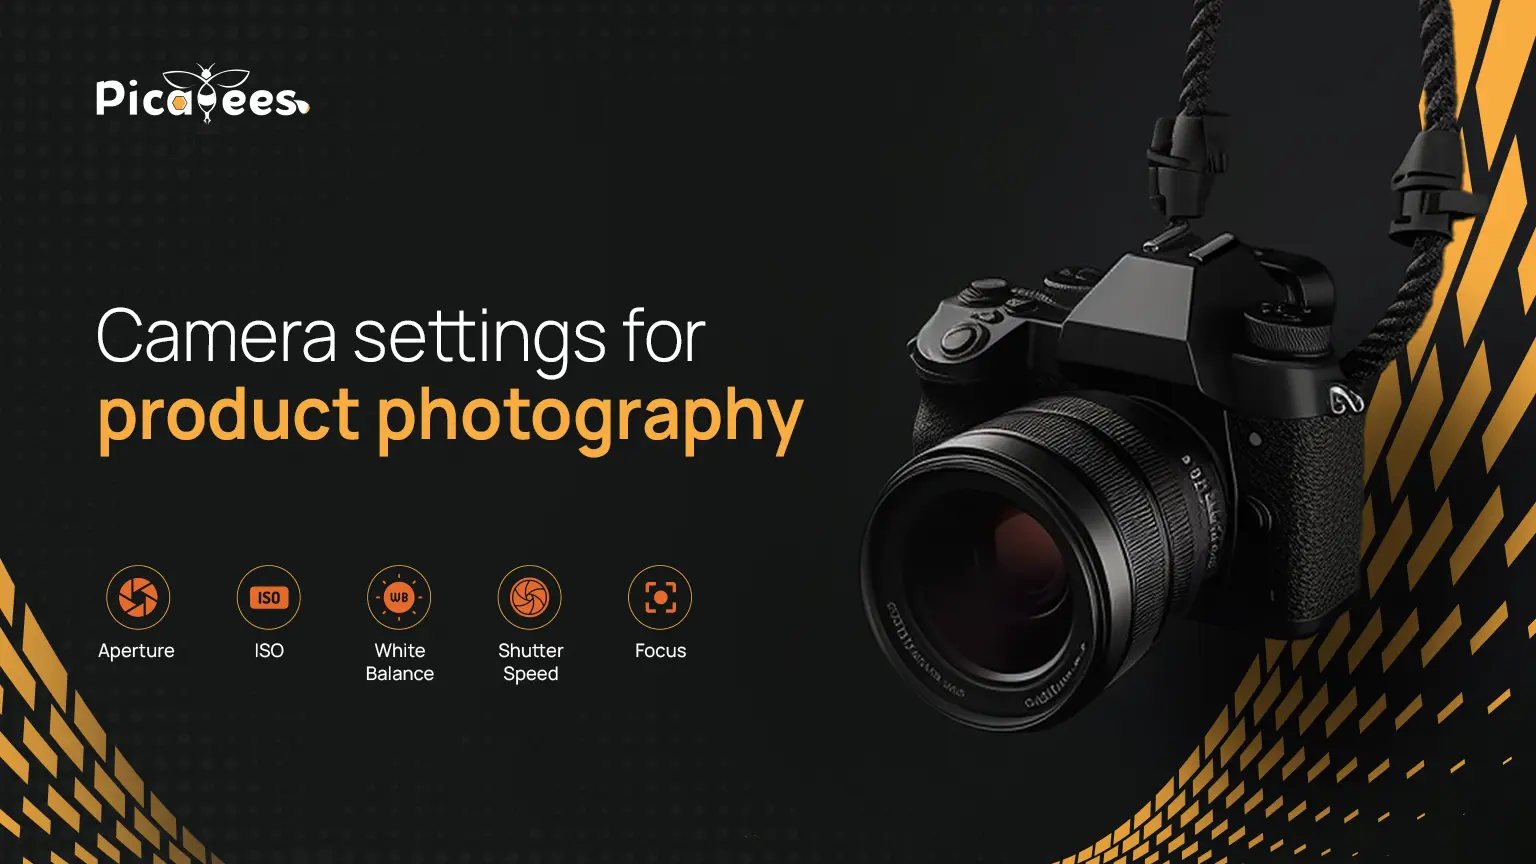
7 best camera settings for product photography
1. Manual mode
It’s tempting to let the camera automatically handle important exposure settings like ISO, aperture (F-stop), and shutter speed but did you know that the best way to shoot is in manual mode?
Manual camera settings for product photography are always the best foot forward because unlike automatic mode, where the camera makes certain decisions for you, manual mode allows you to control the preferred aperture, shutter speed, and ISO. Perfecting these three settings known as the ‘exposure triangle’, is easily one of the fastest ways to improve your product photography game.
2. ISO
ISO stands for International Standards Organization and is the sensitivity of the camera to light. The lower the number, the better. A lower number also means it’s less sensitive, and will take you more time to take the shot.
You can always increase ISO if you’re shooting in a low-light situation or want to use a faster shutter speed. But this comes with an inherent cost where your images can have a lot of noise and hence, a grainy appearance.
An ideal ISO setting is somewhere between 200-800 when you’re working with direct natural light. And, when you’re working with artificial light, that will change the ISO requirements, giving you more control over the settings.
3. Optimal Shutter Speed
When it comes to product photography, you’re almost always shooting a still shot with the object in front of you. It’s advisable to use a low setting like 1/13, to push more light into the camera because you don’t have to worry about motion blur or camera shake.
You might be wondering,” What is shutter speed?”. Shutter speed (also known as “exposure time”) is basically how fast your camera’s shutter opens and closes. This in turn, also determines your camera sensor’s ability to capture the light needed when taking a photograph.
Shutter speeds are calculated in fractions of seconds. And faster shutter speeds mean the object is mostly frozen, while slower speeds can create motion blur. However, If you’re shooting a model or landscape, sports, or nature, you may need to increase your shutter speed to compensate for motion.
4. Preferred Aperture
Apertures in the camera are like the pupils in your eyes: it is the opening that allows the light in. The greater the opening of the aperture, the more the light comes in, and vice versa. Another function of it is that it also determines the depth of field of your shot. Depth of field refers to the area of the scene that is well-focused.
Aperture is usually measured in f-stops and it ranges between 1-22. The smaller the number, the larger the aperture. So, f/2.6 has a larger aperture opening than f/13, meaning more light is getting in with f/2.6 versus having it on f/13.
For product photography, you can use a setting from f/4.5 to f/7 when the background is either black or white. Biu when you don’t have a plain background and much separate the object in focus from its surroundings, a wider aperture (f/2.8 or lower) will help blur everything that’s not needed within the area you focused on.
The aperture setting is also interconnected with shutter speed and ISO.
5. White Balance
It’s ideal to set up your photo studio in a place where there is an opportunity for direct sunlight to make an impact. As you know, nothing beats natural light when it comes to taking good photos.
However, it’s extremely important to make sure that harsh, direct sunlight isn’t affecting your shoot. To tackle this, you can drape a white curtain or sheet over your window to diffuse the light, creating a more even light for your product photography shoots.
Since you can’t control the sun, you must know how to work around it and that’s why understanding how to set your white balance is key to ensure that all the blacks and whites are rendered correctly in your product photos. There are two most commonly used ways to adjust the white balance.
Most cameras have an “Auto” white balance setting, which often works fine. But sometimes, your camera too can get confused when your scene doesn’t have enough white color or is close to it. So when your scene is illuminated by multiple sources and contains colors of different temperatures, you’ll need to adjust the white balance settings yourself.
A white balance card can most definitely help you manually adjust your white balance. Here’s a short guide on how to set it manually – take a picture of something white or mid-gray in the same light that is illuminating your product.
Then, you simply tell the camera to use that image as a reference to set the white balance. You can do that by choosing “Custom WB” from the menu and pressing the set button. That’s when the camera shows you the last photo you took, select that by pressing “SET.”
6. No Flash
Never use flash when you’re taking a professional commission, flash lighting creates certain challenges for exposure, and it often creates uneven and hard lighting on the product. But in an uncontrollable situation where using it is a must, use off-camera flash equipment rather than the on-camera flash. Again, if you can completely avoid using a flash, that’s best.
7. Zoom
Most cameras usually have only two zoom choices: optical and digital. It’s best to not use digital zoom whenever possible because it’s just creating a zoom effect by cropping the image, and that results in a lower image quality. When you’re using optical zoom, make sure to zoom in as far as you can without going digital. A longer zoom removes distortion caused by a wide-angle lens. This can be a common issue for some camera lenses, particularly for smartphone lenses, which are typically very wide.
Conclusion
By reading this article you must have understood what are the best camera settings for product photography, but even then, the final output almost always needs professional photo enhancement.
The process needs the final touch of experts with special knowledge and skills to make the product photos come alive and persuade customers of the businesses to like them. That’s why we recommend approaching a high-quality professional image editing company such as Picabees which can also provide clipping path services, and fix all the lighting mistakes.
Click here to read all about us and see if we’re the right fit for you.